As the leaves change colors and the scent of campfires and s’mores fills the air, there’s one fall essential you won’t want to miss – the iconic pumpkin!
Celebrate Halloween in style with our WSSI-inspired pumpkin carving stencils. Whether you’re creating festive memories with friends and family or enjoying a relaxing creative moment on your own, these unique designs are the perfect way to add a personal touch to your seasonal décor.
Downloadable Templates
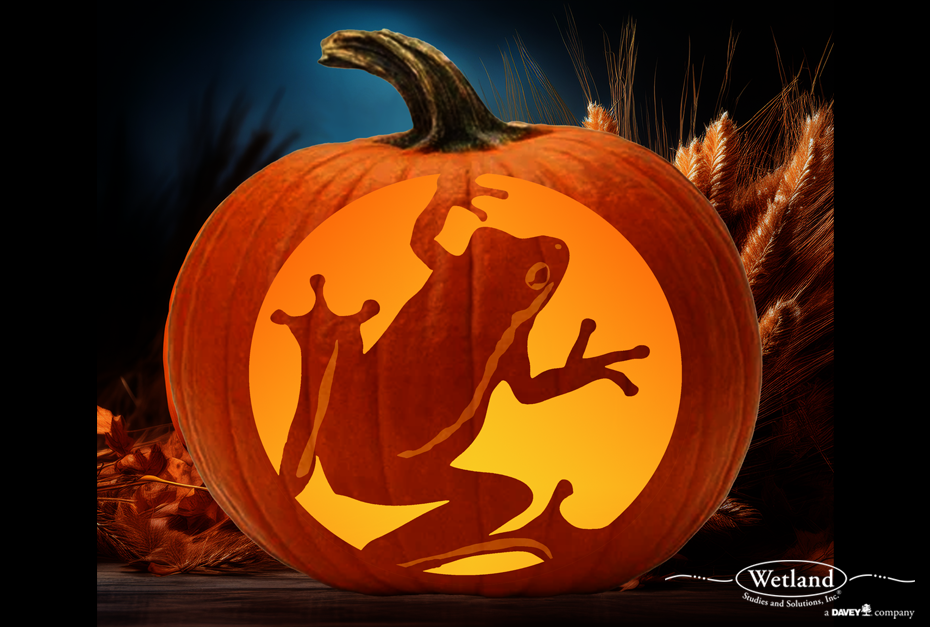
- Green Treefrog
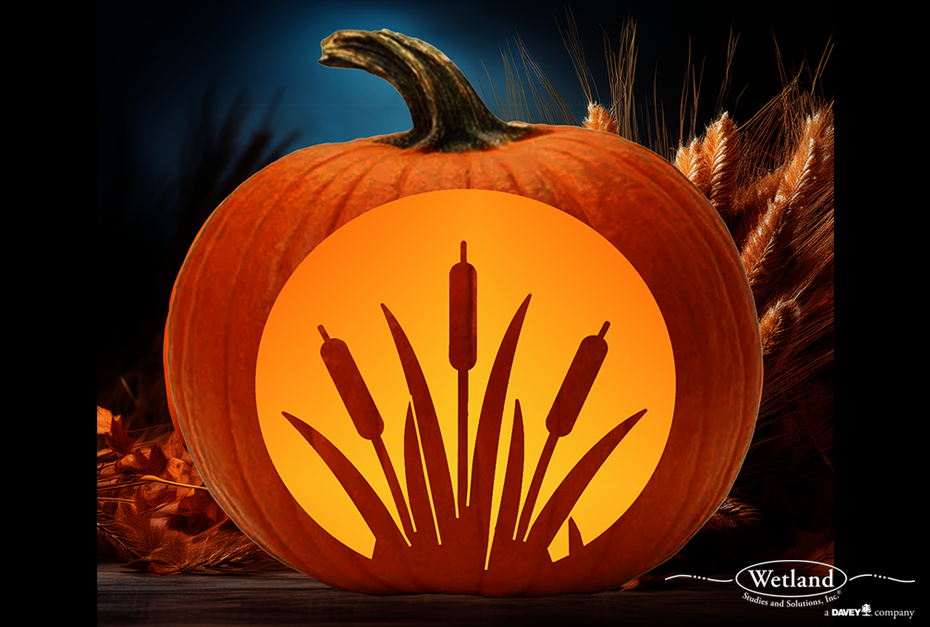
Treefrogs are one of many species that enjoy our wetland mitigation banks! - Cattails
Are in wetlands across North America; our scientists look for them when delineating. - Northern Long-eared Bat in a Tree
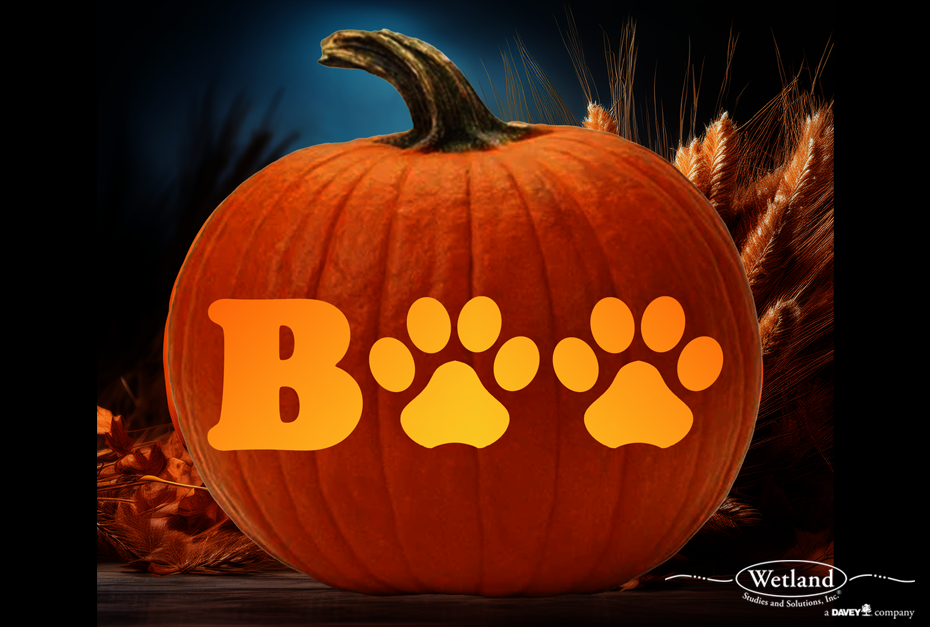
You’ve been reading about them in Field Notes, now carve one for your front stoop! - BOO with Pawprints
We LOVE our pets! Dogs have been a part of our culture since the beginning of WSSI!